Showing posts with label low-fat recipes. Show all posts

Thursday, February 21, 2013

Light, Fluffy and Oh, So Good!

 
     You are seeing a "theme" in my cooking style lately. It is all about eating healthy without giving up anything...like dessert! Valentine's Day we decided to avoid the crowds and have dinner at home. We had filets, salad and baked potatoes for dinner. I wanted to make something special for dessert and I found a recipe online from Taste of Home that was just perfect for us. I made a few minor adjustments and put it through a calorie counter. Each slice of 1/12th of the torte has 151 calories without whipping cream. I added 2 T. of Reddi Whip real whipping cream for an additional 15 calories.  
 
     Strawberry Schaum Torte
 
Ingredients:
8 egg whites
1 T. white vinegar
1 tsp. vanilla
1/4 tsp. salt
2 cups sugar
2 cups sliced strawberries
whipping cream (optional)
 
Preheat Oven to 300 degrees
Grease a 10 inch springform pan (I used Pam)
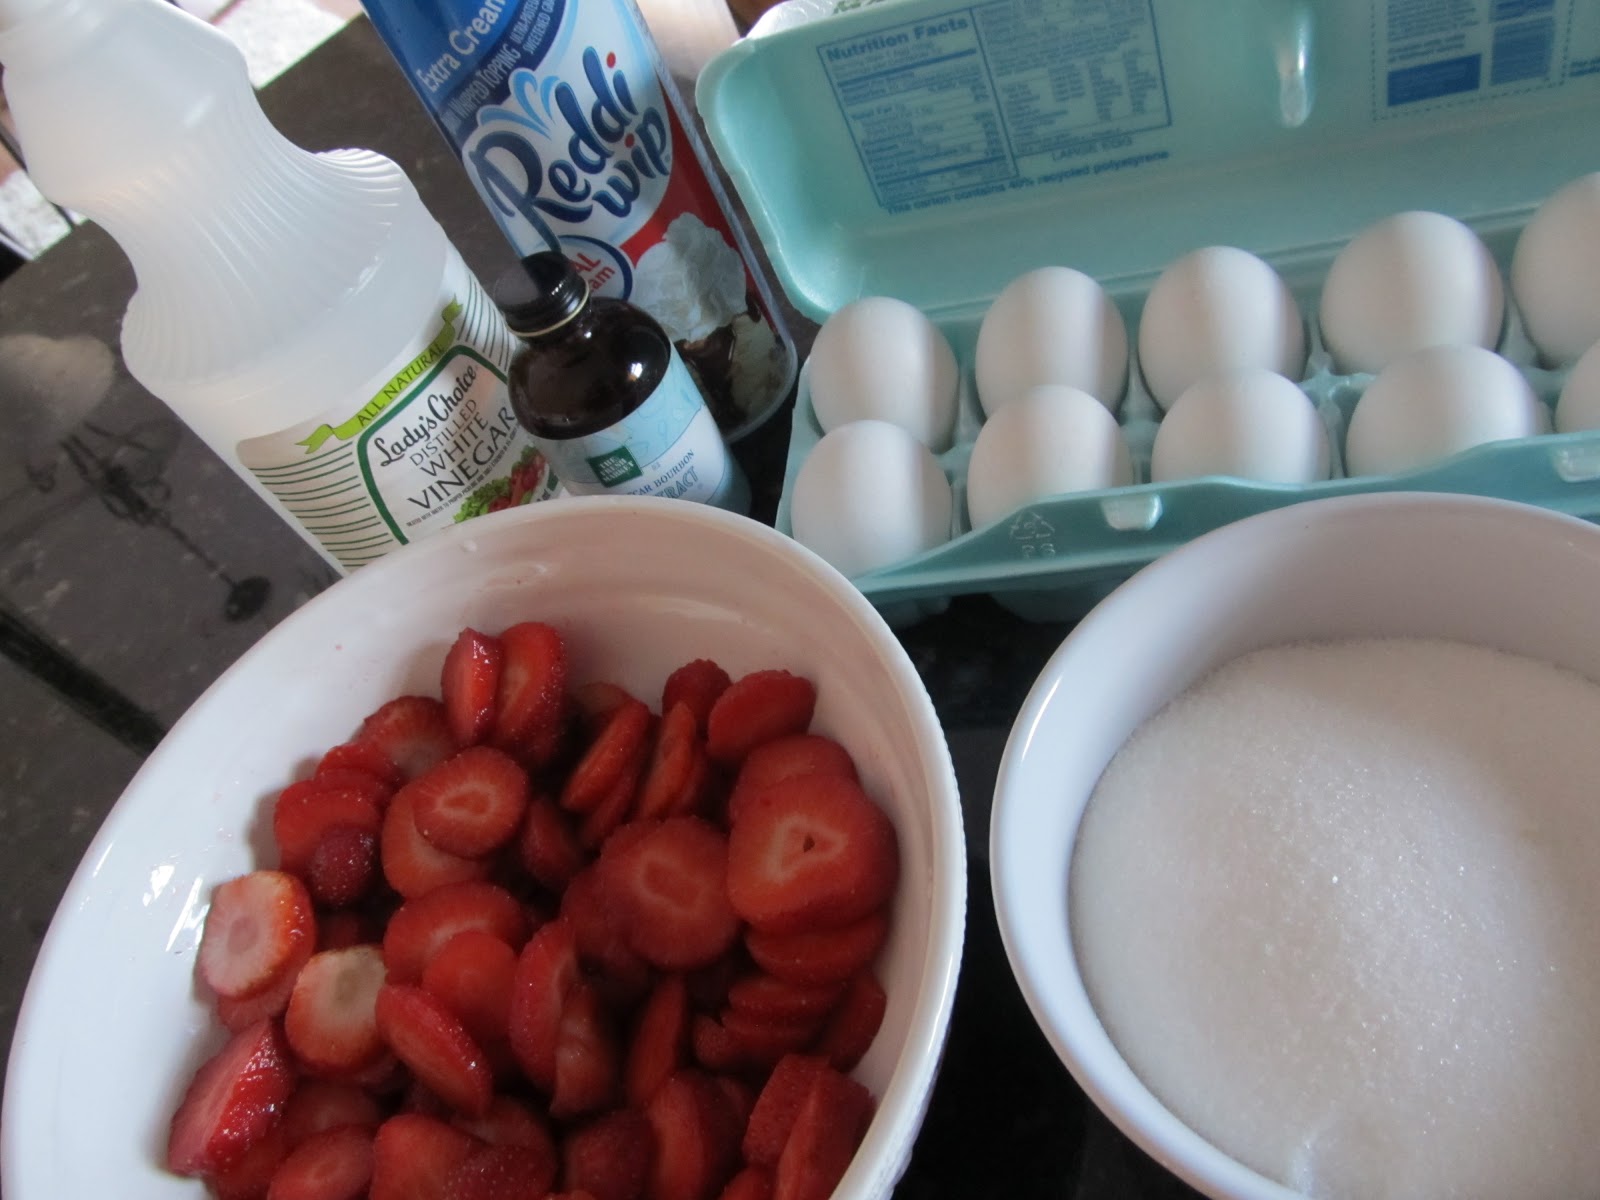
 
 
     Place egg whites in a bowl and let them stand 30 minutes to room temperature. Add the vinegar, vanilla and salt and beat until soft peaks form. Gradually add sugar and beat until glossy and stiff peaks have formed. Beat long enough for the sugar to be almost completely dissolved. See picture below.

 
Spread into the greased springform pan.
Bake at 300 degrees for 50-60 minutes or until lightly browned.
 
 
Remove from the oven and put on a wire rack to cool.
The meringue will come out of the oven very puffy and pretty.
 
 
Then it falls to smashed and ugly!
 
 
When cool, remove the sides from the
springform pan and place on serving plate.
 
 
     At this point, if you are serving a group...you could put the berries and whipped cream on the entire top of the torte. We were only using 2 slices, so I decorated each piece and put the rest in a container in the refrigerator. It was perfectly delicious for a couple of days after it was made. It is very light and soft. It was the perfect ending to our meal without making us feel stuffed.


     I'm often asked if we really use the tablescapes that I set. The truth is...not often. Last week I showed the table set for a Valentine brunch. That table wasn't used. The picture below shows how the table really looked for the two of us on Valentine's Day.
 
 
I am joining Susan @ Between Naps on the Porch for
Tablescape Thursday and
Michael @ Rattlebridge Farm for
Foodie Friday


Friday, February 1, 2013

Need A Yummy Low-Cal Appetizer for the Game? Giveaway!


     When I think of Superbowl Sunday, the first thing I think of isn't football...it is the food! I am all about appetizers and desserts and could really care less about actual meals! I, like many of you, have been trying to make some healthy eating choices since the first of the year. My daughter sent me this recipe for a baked version of Crab Rangoon and it is really good. If I were serving it to guests, I might dress it up a little bit with a bit of green onion tops or paprika after baking. I put this recipe into a calorie calculator and each piece has 56 calories and 2 grams of fat. They are so easy to make! I used the leftover wonton wrappers with 1 T. of chocolate chips in the middle, folded in half and baked until brown for a 90 calories sweet treat. 

Baked Crab Rangoon

Pre-heat oven to 350 degrees

1 can (6 oz) white crabmeat, drained 
4 oz reduced fat cream cheese 
1/4 cup light mayonnaise
sprinkle of season salt
12 wonton wrappers (found in the produce section)

     Mix the drained crab, cream cheese, mayo and season salt together in a bowl until smooth. I just used a spatula. Spray a regular sized muffin tin with cooking spray. Place a wonton wrapper in each hole of the tin. Gently press them in to make a "cup" to hold the cheese mixture. Spoon a teaspoonful of filling into each wonton "cup". Bake about 18 minutes until edges of the wontons are slightly brown and filling is heated. I don't cook with onions, but for those that do, you could add some green onion to the mix and leave out the season salt. 

     These are really good. Do I wish they had more filling, of course...could I eat all 12 of them, absolutely. What I liked the most was that they taste like a real appetizer and you don't feel as if you are missing out on something. 


I am joining Michael @ Rattlebridge Farm for Foodie Friday.
Please check out all the wonderful recipes there today. 

Don't forget to sign up for my Foodie Giveaway!


Tuesday, March 27, 2012

Easy Low-Fat Granola


     On our recent trip to an Amish community, I bought what they called "Sunrise Granola" and it was the best I'd ever tasted. I eat Greek Yogurt for breakfast every morning and I love to sprinkle a couple tablespoons of granola on top and theirs was perfect. I could tell that it was made with butter and it was in small pieces, very brown and toasty.


     Once it was gone, I decided to try to make a lowfat version that was the same texture. I have a different lowfat granola recipe (posted on the blog in the past) and I have a delicious high calorie recipe, but I wanted something that tasted good and was in small pieces for topping yogurt. I didn't take pictures as I made it because I didn't think it would taste as good as it does!


     With very few ingredients, it has the crunch and the chewy sweet that I was looking for and no fat added. You can adjust the ingredients to your own liking. Use a little more syrup/brown sugar if you want it more coated, use a different dried fruit or even substitute nuts for seeds. I really think the secret was in getting it nice and lightly browned. I will still buy the Amish granola when I visit Arthur, but for every day this version is much healthier!


Easy Low Fat Granola

4 cups oats (I used quick cooking in the big round box)
1 cup sunflower seed/pumpkin seed mix (I used salted)
½ cup brown sugar packed
½ cup real maple syrup
1 cup raisins

     In large bowl combine oats and seeds. In a small saucepan, combine brown sugar and maple syrup and bring to a boil. Pour over oat seed mixture and mix well. Pour onto greased cookie sheet and bake about an hour at 300 degrees. I checked mine often and stirred the edges as they turned brown into the middle. I judged the cooking time by the color of the mix, not wanting it to burn but still wanting a brown and toasty flavor.

     Remove from oven and fold in raisins, let cool. Keep in airtight container or Ziploc bag. It freezes very well.


I thought I'd share this sunrise photo from a few days ago.
Sometimes the sky is truly a work of art.

Thursday, August 18, 2011

Not Your Grandma's Potato Salad

     I've been trying to find ways to lighten up some favorite comfort foods. When I saw a lighter version of potato salad in Southern Living Magazine lately, I decided to try to make something similar. 

Ingredients:
2 pounds new potatoes, cut in large cubes and boiled until tender in salted water.
2 T. vinegar
1 T. olive oil
1/2 cup light sour cream
1/4 cup light mayonaise
1 T. brown spicy mustard
salt and pepper
1/2 cup chopped celery
1/2 cup fined sliced carrots
1/2 cup sliced radishes
1/2 cup sliced cucumber
1 T. lemon zest


Drain boiled potatoes and place in large bowl.
Drizzle on vinegar and olive oil and toss. Cool for 1 hour.


In separate bowl add sour cream, mayonnaise and mustard.


Add chopped vegetables, lemon zest, salt and pepper, mix well.


     Fold veggie mixture into cooled potatoes and chill before serving. We really enjoyed this salad. I would probably leave out the lemon zest next time simply because I didn't think it added to the flavors. The soft potatoes and the crunch of the veggies was a great combination and a nice change from regular potato salad.

I am joining Michael @ Designs by Gollum for Foodie Friday.
Please stop in and say hello to her!

Friday, July 29, 2011

Fresh From The Garden Salad

     This is one of those "recipes" that I didn't have a recipe for. I just threw a few things together and it worked! It all started with some local sweet corn. I used 6 ears, plunged them for a couple of minutes into boiling water and let them cool.


     Remove the corn from the cob. I have tried several methods for this. Some suggest doing it over an angel food cake pan to catch the kernels. I have found that using a cookie sheet with an edge works best for me.


     A trip outside to our "garden" and I had a couple of peppers and some fresh basil. Chop them both into small pieces.


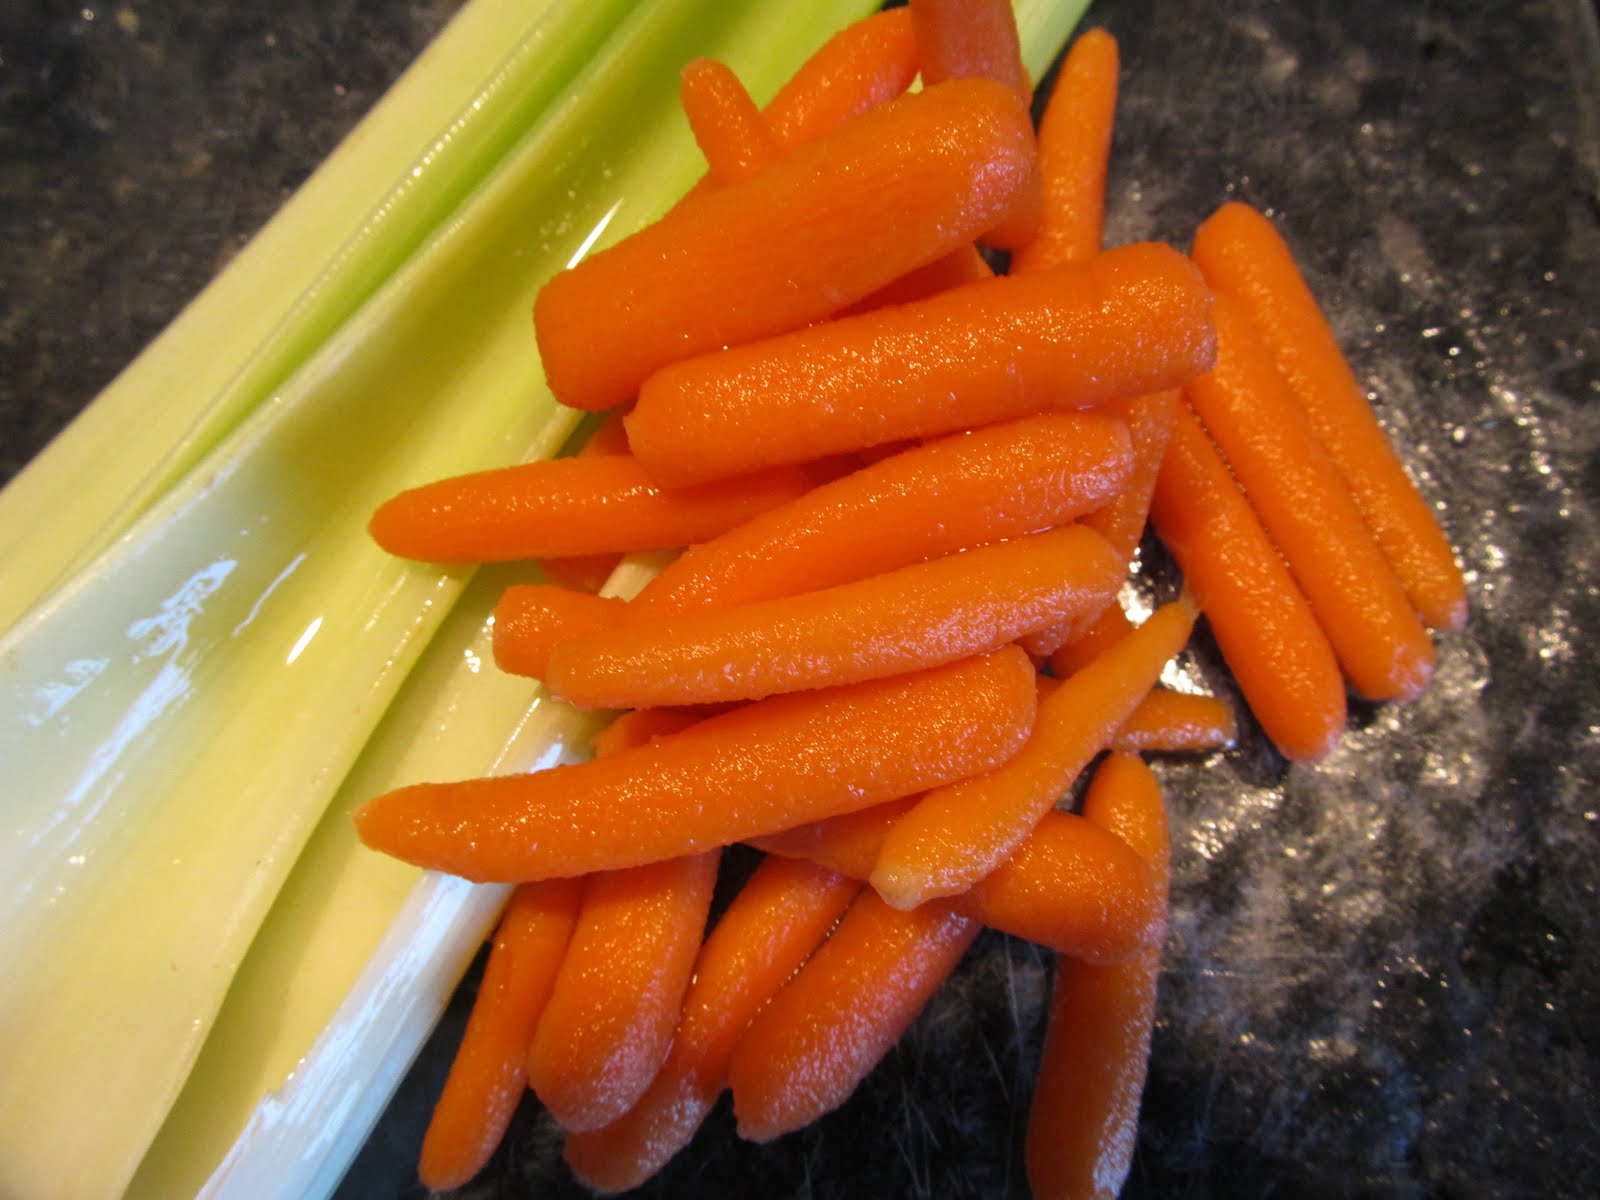
     At this point, add what you have in the house. I grabbed some celery and baby carrots and chopped them into small pieces. Grape tomatoes, olives, black beans, cucumber etc. would also be good in this salad.


     I made a simple dressing. I used 1 Tablespoon of olive oil, 1 T. of Dijon Mustard and 1/4 tsp. each of salt and pepper.


     Wisk in 3 Tablespoons of good quality balsamic vinegar. Actually, any vinegar would work, but once you have tried a true aged balsamic vinegar (mine is from The Olive Mill) you will never want to use the stuff from the store again, this is so much thicker and richer. It is so good you could almost drink it!


This makes a very colorful and filling salad.
I served ours with a roasted pork loin.


I am joining Michael @ Designs by Gollum for Foodie Friday.
Please take time to stop and say hello.

Friday, July 8, 2011

Dessert-Guilt Free!

     I'm one of those people that hates fat free products. I'd rather not eat, than eat something that tastes funny and is full of chemicals. I will drink diet soda, but that is about it. So, this is a surprising dessert coming from me. I realize that it is a bowl of things that really aren't food, but sometimes if you want to lose a few pounds and you want to still have your sweets...you compromise. The one thing this doesn't compromise on, is the taste. It is really delicious and so simple to pull together.


     This was our dessert for the 4th of July. I usually just sprinkle the fruit on top, but I got slightly creative on the 4th. It was just the 2 of us, so I didn't worry about it looking perfect.


You need 2 boxes of Jell-o, instant sugar free pudding.


One 12 oz. container of Cool Whip Free, thawed.


1 angel food cake bar (you could use an angel food cake).


Whisk the pudding with 4 cups of skim milk for 2 minutes, until it starts to thicken.
 Fold in the Cool Whip.


Cut the cake into cubes.


In a pretty bowl, place a layer of cubes.


Top with a layer of the "filling" and
sprinkle on whatever fruit you have on hand.


Repeat until your bowl is full, ending with fruit on top. (I did 3 layers)
This dessert gets better as it sits in the refrigerator.
You really can't tell that it is very low in calories and fat.


I am joining Michael @ Designs by Gollum for Foodie Friday.
The best place to look for yummy food in Blogland!

Monday, January 18, 2010

What Did You Just Call Me? A Great Lowfat Soup Recipe.


     This is me. Well, I should say, this is Mii. This is my second week as the proud owner of my first video game system since the original Nintendo. I bought a Wii and Wii Fit. I started using them last Monday. For those who don't know anything about the Wii (I was one of them) the first thing you do is create a Mii character. I did that, complete with short dark hair and glasses (although my glasses hopefully look better than these)! I even picked out my red shirt. I think I look a bit like a female Harry Potter.The next thing I did was start my program on the Wii Fit. You type in your age and height and it weighs you. I knew I needed to lose a few pounds. I, like many women, have 2 sizes of clothing in my closet. The size that I like to wear, and the size I creep into if I gain 10 pounds or so. Well, I'm in that larger size which is how I know that it is time to do something about it. Would most people call me overweight? No, they wouldn't. I feel better 10-15 pounds less than I am now, but I'm a few sizes below the national average...so no big deal...right? Wrong.

     You notice how my Mii's t-shirt doesn't quite meet her pants? See that bit of bulge below the belt? My Mii was quite put together until I stepped on the Wii Fit board and it registered my weight. I watched in horror as my stomach puffed out and my shirt grew shorter. Not only that, it called me names. Fat names. It told me my BMI (body mass index) needs to be 22 and that means I need to lose a few more pounds than I planned. Okay, I get it...just pull my t-shirt back down! I've used the Wii Fit every day but one. It yelled at me the day I skipped and I yelled back that I simply used a different Wii game for my exercise that day! I actually gained weight the first 3 days and believe me...Wii doesn't like it when you gain weight, it wants to know why??? There is no box to check that says, "I'm middle aged, I retain fluid, I didn't do anything wrong!"

So, I've pulled out the old standby, counting Weight Watcher points. When I feel I've gained a few pounds, counting points works for me. I don't go to meetings. You can really find all the information online these days. I just aim for 23 points a day, stick with it about 95 percent of the time and it works. So, you will be seeing some healthy recipes coming from me for a little while...at least until my Mii fits back in her t-shirt!

Let me also add that I love the Wii Fit. I have never had this much fun exercising. It is a good workout, it gets me sweating and laughing at the same time. I've done at least an hour each day since Monday and most days I do another round late in the afternoon just for fun. I actually look forward to it. I have never felt that way about the gym.

Creamy Cauliflower Soup-Weight Watcher Style
Makes 4 servings-1 point each


Ingredients:
2 tsp. olive oil
1 head cauliflower, broken in florets
3 cups low-sodium fat free chicken broth
3/4 cup evaporated skimmed milk
1/4 tsp. freshly grated nutmeg
Salt and pepper to taste
Garnish with a sprinkling of dill, fresh chives or parsley


In a stock pot or large saucepan, saute' the cauliflower in the olive oil until it just starts to brown a little bit. You could also add a chopped onion at this stage, browning it with the cauliflower. This step took about 10 minutes.

Add the broth; bring to a boil. Reduce the heat to medium-low and simmer, covered, until the cauliflower is very soft (you could mash it with a fork). Put the cauliflower and broth into a blender or food processor and puree. Be careful to hold the lid down on the blender. I was able to do it all in one blender "load" but you may need to do it in batches. 

Pour the puree back into the pan. Over low heat, stir in the evaporated milk, nutmeg, pepper and salt; heat to serving temperature, about one minute. Garnish.

This soup is surprisingly creamy and good. It isn't as thick as my regular (loaded with butter and cheese) cauliflower soup, but it is quite good and you could eat the entire batch for only 4 points! Enjoy!