Showing posts with label Foodie Friday. Show all posts

Wednesday, October 23, 2013

Put Away The "Store Bought" BBQ Sauce, Pulled Pork

 
     We love a good pulled pork sandwich. I doubt that I ever make mine the same way twice. It is really hard to "mess up" pulled pork as long as you start with a good quality pork roast and let it cook until it is falling apart tender. I always try to make extra because this is something that freezes well.
 
     The last time I made pulled pork, I changed it up a little bit. I couldn't find a large boneless pork roast, so I bought three small ones.
 
Rub Ingredients:
4 T. paprika
3 T. sugar
2 tsp. onion powder
salt and pepper (about 1 tsp. of each)
 
Mix together and reserve 1 T. of the mixture. Pat the remaining rub onto the meat. You can do this step several hours ahead of time, but I never think that far in advance. I rubbed it into about 6 pounds of lean pork roast. I got out my grandmother's roaster and put a little oil in the bottom and slightly browned both sides of the meat on top of the stove to add flavor and get the rub to "stick". Add enough water to the pan to have it about 1-2 inches deep and put the roaster covered into the oven at 300 degrees for several hours. You want to slow cook this until it is falling apart tender.
 
 
In a saucepan, mix together the ingredients for the BBQ sauce.
 
BBQ Sauce Ingredients:
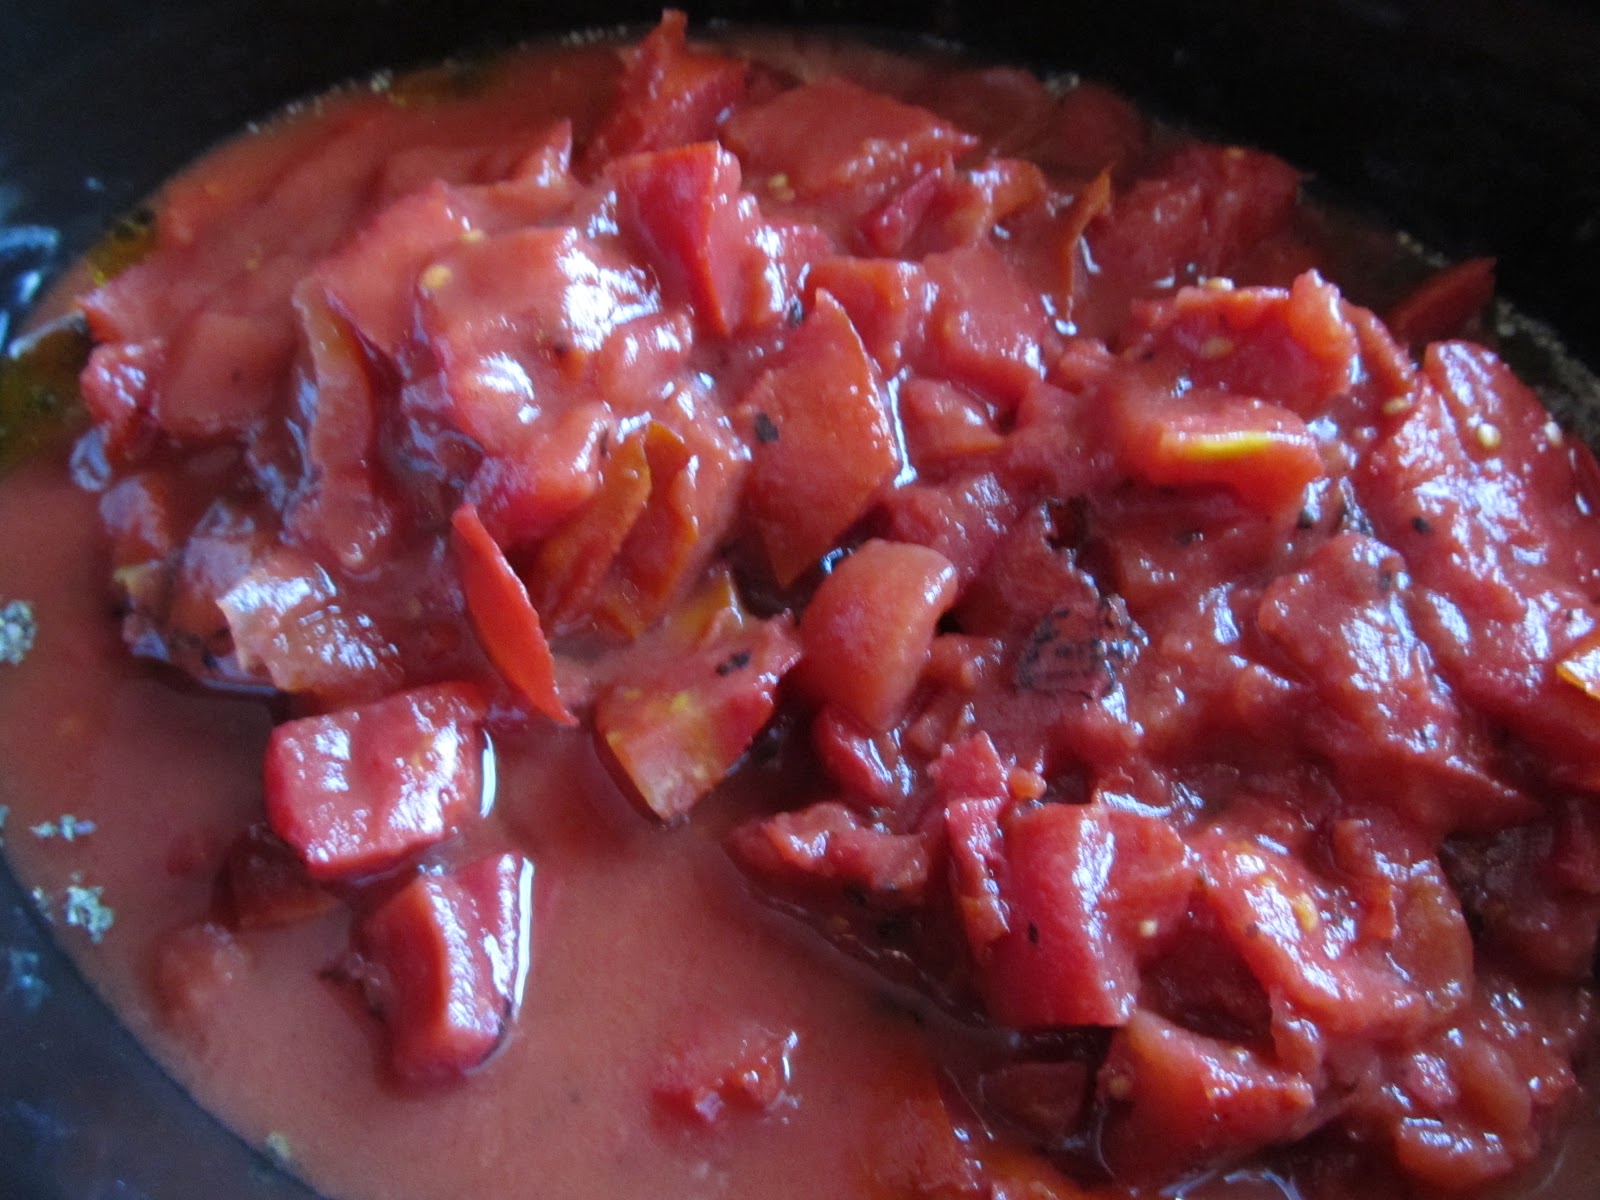
2 cups ketchup
1/4 cup brown sugar
1/4 cup white sugar
1 1/2 tsp. dry mustard
1 1/2 tsp. onion powder
1 tsp. fresh ground pepper
2 T. fresh lemon juice
2 T. Worcestershire sauce
1/2 cup apple cider vinegar
reserved 1 T. of rub mixture
2 T. maple syrup (I used real maple syrup)
1 cup of water
 
Mix all the ingredients for the sauce together and bring to a boil, reduce heat and simmer for 2 hours while the pork is cooking in the oven. Set aside.

 
When your pork is done, remove it from
the oven and using 2 forks, shred it.

 
Pour the BBQ sauce over the shredded pork and
put it back in the oven for another 30 minutes
(not necessary but makes it soak in better).

 
To serve: We love Pretzel Buns, but any crusty bun
will work. I topped ours with a scoop of coleslaw
 for added crunch. Coleslaw recipe.

 
     You could easily prepare the BBQ sauce ahead of time and cook your meat in the crockpot all day. Shred the meat and add the sauce for the last 30 minutes. Some people prefer their pork plain and the sauce served on the side, that works too!
 
 
I am joining Michael @ Rattlebridge Farm
for Foodie Friday

Wednesday, August 7, 2013

I Finally Cooked Something!

 
     It isn't all that often that my husband actually requests me to make a recipe. So, when he goes to the trouble to actually cut out a recipe and ask me to make it, how could I say no? He found the recipe in the Wall Street Journal and thought it looked good and also healthy enough to fit in with the way we eat these days (most of the time). I did have to "tweek" the recipe a bit based on what I had and what was available in small town Illinois. The actual recipe was called Grilled Shrimp with Watermelon, Basil, Corn and Burrata. Of course I had no idea what Burrata was and when I did figure it out, I knew that I wouldn't find it in my little town. I did find that a good substitute for Burrata is Fresh Mozzarella Cheese. Burrata is an Italian fresh cheese that oozes with cream in the center. Doesn't that sound good? I guess the texture on the outside is very much like fresh mozzarella, but it has a gooey, creamy center.
 
Grilled Shrimp with Watermelon, Basil, Corn and Mozzarella
 
1 pound large shrimp, peeled and deveined
3 1/2 T. olive oil, plus a little extra for drizzling
2 tsp. minced garlic (I left out, we don't like it)
4 T. finely sliced fresh basil
salt and pepper
kernels from 4 ears of corn
1 1/2 T. balsamic vinegar (aged balsamic is worth the extra cost)
3 cups cubed watermelon
1 ball of fresh mozzarella, quartered

 
Toss the shrimp (raw) with 2 T. of the oil, the (optional) garlic,
and 1 T. of the basil along with the salt and pepper. Set aside.
 
     I didn't peel and devein my shrimp until after they were grilled, because they were frozen. Next time I would buy raw shrimp that were already peeled.

 
     The recipe did not call for the corn to be blanched, but I did mine. I didn't want it to be raw. I simply dropped it into boiling water for just a minute or so. Remove the corn, dry and cut the kernels off the ears. Let the corn cool a few minutes before mixing with other ingredients.
 
 
In a large bowl, mix the watermelon with
the remaining basil, remaining oil and vinegar.
 
 
Toss in the corn kernels.

 
Slice the cheese into 4 pieces and set aside until serving.
 
     Grill the shrimp over medium-high heat until pink (1-2 minutes per side). After making this, I decided that while the grilled shrimp does add some color and extra flavor...once the ingredients are tossed together, you can't tell as much that the shrimp was grilled. I think this would be almost as good if you simply added boiled shrimp.

 
     Add the shrimp to the watermelon and corn mixture. To serve, divide the salad onto 4 plates and place a hunk of cheese next to it. Sprinkle the cheese with salt and drizzle with olive oil.

 
Here is the picture from the Wall Street Journal.
I think mine turned out looking similar.
 
It is a delicious, fresh summer dish that I will
be making again soon!
 
I am joining Kim @ Savvy Southern Style for
Wow Us Wednesdays
and
I will be joining Michael @ Rattlebridge Farm for
Foodie Friday

Thursday, March 21, 2013

Healthier Cheeseburger Chowder


     I am trying very hard to eat foods that taste as much like things I "used to cook" and yet have less fat and calories. I think most things can be changed a little bit and still have textures and flavors that taste good. People say that after eating mostly "clean" foods, they no longer want things that aren't healthy. Well, I'm not sure I agree with that. Chocolate still tastes great to me and I have some almost daily. After almost 3 months of healthy eating, greasy things don't sound very good to me anymore (but they never really did). I still would be blissfully happy putting heavy layers of butter and cheese on most everything. I lightened the cheese load in this soup quite a bit and I wasn't sure if we would like it this way, but it was actually quite good for a healthy option.

 
     I bought my first bottle of canola oil to make this recipe. I don't use a lot of oil other than olive oil, but I have noticed that many recipes now call for canola oil instead of vegetable oil.
 
 
Ingredients:
 
8 oz. extra lean ground beef
2 tsp. canola oil
1 cup chopped celery
1 cup chopped carrots
1 large potato peeled and chopped
pepper to taste
1/2 tsp. paprika
cayenne pepper (small amount-optional)
2 cans 99% fat free chicken broth
1/4 cup reduced-fat evaporated milk
1 T. flour (I used whole wheat)
3/4 cup shredded reduced fat (not fat free) cheddar cheese
 
     Brown the beef in a small stock pan. Drain, remove from pan and set aside. Add canola oil to same pan and sauté celery, carrots and potato until almost tender. Sprinkle with pepper, paprika and cayenne. Add chicken broth and simmer until veggies are nice and tender. Using a potato masher (or a fork) slightly mash the cooked veggies to thicken the broth a bit, but still leaving large chunks. Mix milk with the flour and stir it into the soup, stirring until blended. Add back in the beef and the cheese and stir until melted.
 
This recipe makes 4 servings @ 249 calories per serving.


Enjoy!
 
I am joining Michael @ Rattlebridge Farm for Foodie Friday
 

Friday, March 8, 2013

Healthy Tomato Basil Soup (159 calories)


     I continue to look for recipes that I can adapt into healthy versions and this Tomato Basil soup was a success. I want to warn you ahead of time that I actually made mine in the crockpot and it worked just fine (4 hours on low heat) but it was really, really ugly before it went into the blender. There is a picture below, just so you know that you didn't ruin it! This would be easy to make quickly without the crockpot, I simply wanted to see what happened when it slow cooked.

 
Serving size is 1 1/4 cups for only 159 calories
per serving when entered into my calorie calculator.
 
 
In your pan or crockpot add:
 
1 T. olive oil
1 T. dried basil (or fresh basil if you have it)
pinch of garlic powder (to taste)
4 cans Fire Roasted Tomatoes (do not drain)
8 oz. 1/3 less fat cream cheese
2 cups skim milk
salt and pepper to taste
 
Heat through until cheese melts and place in small batches into the blender (the soup will explode when hot if you put very much in the blender-hold the lid on). Pulse until creamy.


Tomatoes and oil in crockpot
 
 
All ingredients in crockpot
 
 
Gross and ugly looking soup as I am dipping it into the blender
 
 
Creamy and delicious after blending.
 
     I got a new laptop today and I'm trying to get things switched over and getting a feel for the new keyboard. I also have to learn the tricks of Windows 8 so who knows how many errors you will see in the next few days!
 
I am joining Michael @ Rattlebridge Farm
for Foodie Friday


Thursday, February 21, 2013

Light, Fluffy and Oh, So Good!

 
     You are seeing a "theme" in my cooking style lately. It is all about eating healthy without giving up anything...like dessert! Valentine's Day we decided to avoid the crowds and have dinner at home. We had filets, salad and baked potatoes for dinner. I wanted to make something special for dessert and I found a recipe online from Taste of Home that was just perfect for us. I made a few minor adjustments and put it through a calorie counter. Each slice of 1/12th of the torte has 151 calories without whipping cream. I added 2 T. of Reddi Whip real whipping cream for an additional 15 calories.  
 
     Strawberry Schaum Torte
 
Ingredients:
8 egg whites
1 T. white vinegar
1 tsp. vanilla
1/4 tsp. salt
2 cups sugar
2 cups sliced strawberries
whipping cream (optional)
 
Preheat Oven to 300 degrees
Grease a 10 inch springform pan (I used Pam)
 
 
     Place egg whites in a bowl and let them stand 30 minutes to room temperature. Add the vinegar, vanilla and salt and beat until soft peaks form. Gradually add sugar and beat until glossy and stiff peaks have formed. Beat long enough for the sugar to be almost completely dissolved. See picture below.

 
Spread into the greased springform pan.
Bake at 300 degrees for 50-60 minutes or until lightly browned.
 
 
Remove from the oven and put on a wire rack to cool.
The meringue will come out of the oven very puffy and pretty.
 
 
Then it falls to smashed and ugly!
 
 
When cool, remove the sides from the
springform pan and place on serving plate.
 
 
     At this point, if you are serving a group...you could put the berries and whipped cream on the entire top of the torte. We were only using 2 slices, so I decorated each piece and put the rest in a container in the refrigerator. It was perfectly delicious for a couple of days after it was made. It is very light and soft. It was the perfect ending to our meal without making us feel stuffed.


     I'm often asked if we really use the tablescapes that I set. The truth is...not often. Last week I showed the table set for a Valentine brunch. That table wasn't used. The picture below shows how the table really looked for the two of us on Valentine's Day.
 
 
I am joining Susan @ Between Naps on the Porch for
Tablescape Thursday and
Michael @ Rattlebridge Farm for
Foodie Friday


Friday, February 15, 2013

Trying Something New From Country Living


     We brought home quite a few citrus varieties from Florida in December. I also got a box of Honeybell Oranges from my Dad in January and we started eating the Honeybells instead of what we brought home (they are the best). I didn't want to lose any of the fruit, so when I saw a recipe in last month's Country Living Magazine for Quick Tangelo Marmalade, I decided I would try it with my leftover tangerines.
 
 
     Other than strawberry freezer jam, I had never attempted anything quite like this before. Notice how the tangerines straight from the Florida groves aren't all perfectly orange. The ones in the store are...makes you wonder doesn't it? I washed 10 tangerines and cut them in half.
 
 
You have to juice these by hand (not with a juicer)
and I used this "vintage" Tupperware juicer.
 
 
     Using the juicer, squeeze out all the juice from the tangerines and strain out the seeds. I ended up with 2 1/2 cups of juice. Set the juice aside while you prepare the peels.

 
     Remove all the remaining pulp from the tangerines. I found this was very simple if I turned the halves inside-out. My husband came in for lunch and was snacking on the segments I removed.
 
 
     Next, you want to cut the peels into 1/4 inch strips. I cut out the stem section and threw it away (see above) and then I sliced the remaining peel into strips.
 
 
     In a large Dutch oven, combine the juice, rinds, 4 cups of sugar, 1 tsp. of real vanilla, 1 cup of water and half an apple. Country Living said to use a Granny Smith apple and a split vanilla bean with seeds, I didn't have either of those. I used a Honeycrisp apple and liquid real vanilla and it was fine.
 
 
      Bring the mixture to a boil and then reduce the heat to low. Stir occasionally and simmer until the rinds are tender and the liquid has slightly thickened, about 1 hour. Remove the apple and the vanilla bean if you used one. Discard. My husband ate the apple and said it was wonderful!! Allow the mixture to cool completely and put in clean glass jars and store in the refrigerator up to 2 weeks.
   
 
     This made a delicious marmalade/sauce. It is thinner than I expected but it doesn't have any thickening agent in it, so that might explain it. It might be that I did something wrong, but I don't think so. It would work on pancakes, waffles, ice cream or toast. We have been having it on English Muffins and it is perfect. I also think this would be a wonderful sauce to pour over chicken before cooking.


I am joining Michael @ Rattlebridge Farm for
Foodie Friday. Please stop to see the wonderful recipes.