Friday, March 8, 2013

Healthy Tomato Basil Soup (159 calories)


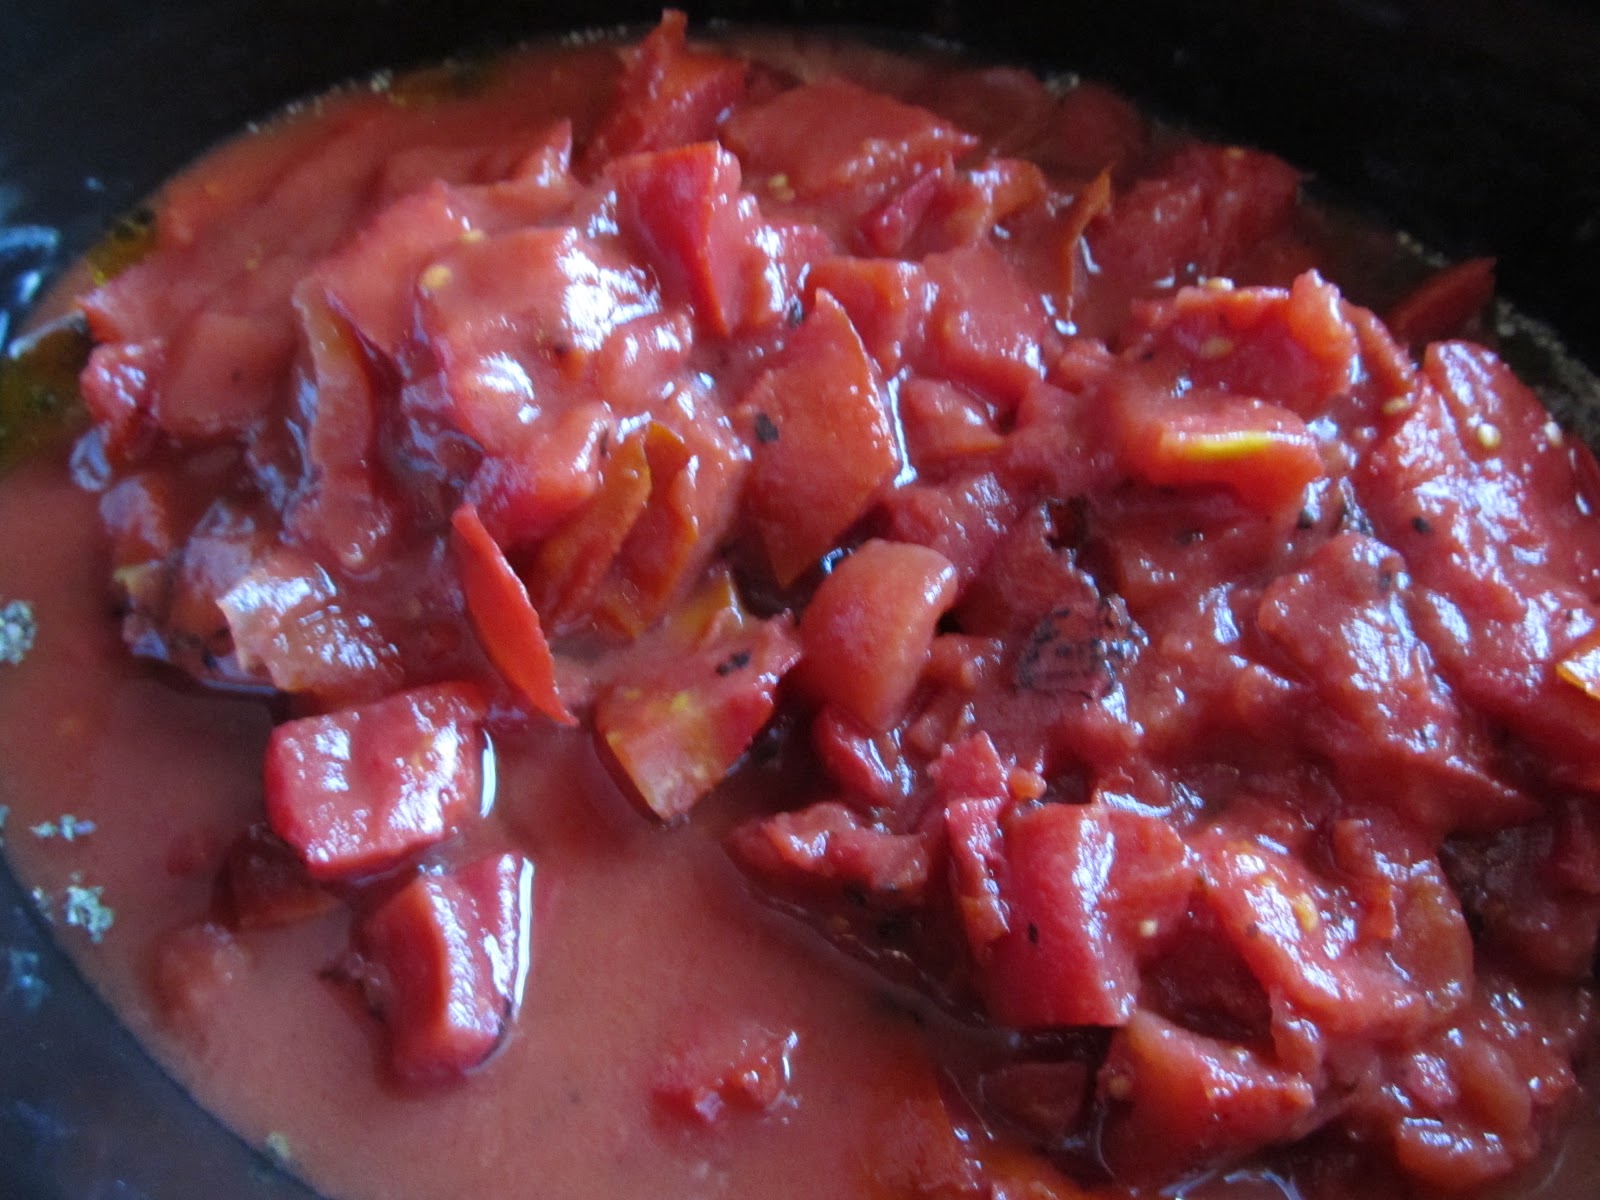
     I continue to look for recipes that I can adapt into healthy versions and this Tomato Basil soup was a success. I want to warn you ahead of time that I actually made mine in the crockpot and it worked just fine (4 hours on low heat) but it was really, really ugly before it went into the blender. There is a picture below, just so you know that you didn't ruin it! This would be easy to make quickly without the crockpot, I simply wanted to see what happened when it slow cooked.

 
Serving size is 1 1/4 cups for only 159 calories
per serving when entered into my calorie calculator.
 
 
In your pan or crockpot add:
 
1 T. olive oil
1 T. dried basil (or fresh basil if you have it)
pinch of garlic powder (to taste)
4 cans Fire Roasted Tomatoes (do not drain)
8 oz. 1/3 less fat cream cheese
2 cups skim milk
salt and pepper to taste
 
Heat through until cheese melts and place in small batches into the blender (the soup will explode when hot if you put very much in the blender-hold the lid on). Pulse until creamy.


Tomatoes and oil in crockpot
 
 
All ingredients in crockpot
 
 
Gross and ugly looking soup as I am dipping it into the blender
 
 
Creamy and delicious after blending.
 
     I got a new laptop today and I'm trying to get things switched over and getting a feel for the new keyboard. I also have to learn the tricks of Windows 8 so who knows how many errors you will see in the next few days!
 
I am joining Michael @ Rattlebridge Farm
for Foodie Friday


Wednesday, March 6, 2013

Maple Syrup-Straight From the Tree

 
     Saturday morning was cold, gray and snow flurries were blowing in the air. Somehow, it seemed like the perfect weather to explore something we had never seen before...the making of maple syrup. We have lived here almost 10 years and until we read an article in our paper last Friday, we had no idea that we could drive 20 miles and see this done.

 
     Kent Phillips and his family have been making maple syrup since the early 1900's. Kent started following his father (who was born in 1915) around as a child and now he is helped by his daughter and her family. He calls the barn that houses the equipment the "sugar shack" and that describes it very well.
 
 
     The syrup is gathered into these blue plastic bags, although I understand that if a tree has multiple taps on it, a bucket is still used. They go through the woods on four wheelers, collecting the sap which is turned into the syrup. From what they explained to us, it requires 40 gallons of sap to boil down to 1 gallon of syrup.

 
     This is the sap after it is collected. It had a crust of ice on top and really looked like dirty water. My husband tasted it (not me...nope...gotta boil mine) and said it really tasted like barely sweet water...almost no taste at all.
 
 
     The next step is to move the sap to this large container so that gravity can force it into the boiler. The pictures look strange because it was so steamy in the sugar shack that at times we could barely see anything.
  
 
     This is the evaporator which does all the magic. It is heated with a wood fire and the room smells of sweet syrup and woodsmoke. I was freezing, but it was still fun to see.
 
 
     The sap moves through troughs in the evaporator as the steam rises and the syrup color darkens and becomes more flavorful. It is then moved to a machine where it is manually put into containers and sealed. Of course, we came home with fresh syrup. It is simply delicious. I want to pour it on everything. It isn't as thick as the "fake" maple syrup and the flavor is much lighter. I have had real maple syrup before, but never any that was so fresh it was barely cool. You can check out the Phillip's Facebook page here.
  

I am joining Susan @ A Southern Daydreamer
for Outdoor Wednesday


Monday, March 4, 2013

A little paint and $3.60

 
     It is well established that I am not a "crafty" person. I know my strengths and I also know my weaknesses and so do my fellow bloggers! So, when I do a craft project and it turns out the way I want it to...it generally means that a first grader could do it! I found this Fleur-de-lis in the 90% off section at Hobby Lobby. It had been $36 and I paid $3.60 for it. I thought that I could throw it away if I failed. I had some Annie Sloan chalk paint that I hadn't tried yet and it seemed like a good first project. I didn't do anything except wipe the store dust off the piece before starting. I painted 2 coats of paint, let it dry and sanded a few spots to age it. I also used the clear Annie Sloan wax when it was done...I have no idea why or what it was supposed to do...but, I had it, so I used it. I was really pleased with the results! What do you think?
 
 
     Do you realize that Easter is March 31st? We actually change the clocks to Daylight Savings Time next weekend. So, I spent yesterday putting away all the snow-covered, pinecone type decorations and brought out spring. Of course we have snow coming and it is cold, cold, cold here...but, it looks like spring inside the house!


I am joining Susan @ Between Naps on the Porch for Met Monday
and
Marty @ A Stroll Thru Life for Table Top Tuesday


Thursday, February 28, 2013

Don't knock it until you've tried it!


     I'm sure some of you have heard about a new healthy food snack...baked kale chips. I like kale. It isn't always available in my small town, but when I find it, I often buy it and throw it into soup, much like fresh spinach. I just couldn't imagine making "chips" out of it.
 
     Last weekend, we went to a food co-op that I had heard of in Champaign-Urbana. Common Ground felt to me like a small Trader Joe's. It had a wonderful produce section, a salad bar, fresh pizza, organic meats and wonderful packaged foods...many of which are being grown locally. I bought 2 kinds of kale, a curly leaf and what I think was Dino kale. I decided I was going to give the "chip" thing a try.
     You can find several recipes for this process, several different temperture settings and several people who will claim the kale was bitter or burned. I used a bit of trial and error with both kinds of kale and had no bitterness with either. I also didn't burn a single leaf. We both actually really loved the finished product and at only 56 calories a cup...it makes a great snack. I actually made my second batch last night and wanted to see how it would hold up overnight before posting...it is fine in a ziploc bag, still very crisp.
 
     I had friends ask what this tastes like. Well, it isn't Lay's Potato Chips with good old fashioned onion dip. But, how many of us can afford those calories and fats? The kale chips are very light, slightly salty and crisp. You could easily eat an entire bunch of kale (which makes about 2-3 cups) in one sitting. It doesn't taste at all "green" or grassy, and certainly not bitter.
 
     To make one batch of kale chips you only need three ingredients:
one bunch kale, olive oil and season salt
 
     Tear the kale leaves off the stalks. I found that if I just pulled from one end it stripped most of the leaves off. Discard the stalks. Tear the leaves into pieces. Wash the kale leaves and dry them. Mine were not completely dry when I made the chips. Put the leaves on a cookie sheet and drizzle with 2 T. of olive oil and toss to cover leaves. Sprinkle with a little season salt (or seasoning of your choice). Put the cookie sheet in a 250 degree oven for 25-30 minutes. I found that 30 minutes was good with my oven. Remove from the oven and toss the chips. You will notice if they are all dry and crispy or if some are still soggy. Mine were still a bit soggy both times, so I put them back in the oven, turned off the heat and let them remain there until the oven cooled (about 45 minutes). At that time they were all dry and crispy. That's it. Just watch them closely as they will burn if your oven is too hot or you forget them! Enjoy!
 
     I am joining Michael @ Rattlebridge Farm for Foodie Friday
 

Monday, February 25, 2013

And the colors are...


     Most of you know about my color "themes" at Christmas, but I confess that I also seem to do the same thing for spring/summer too. It usually starts with a piece of ribbon (I love ribbon) and I just go from there. It certainly doesn't mean that I buy all new things for the changing of the season. Part of the reason I write this blog is to help others realize that you can use things you already have without buying anything new...or at least spending very little money. This year, it was the blue burlap and the green check that called my name. More to come!
 
 
     The photo below has nothing to do with the post, I just thought it was interesting. I wanted to take a picture of the full moon tonight and this is what I ended up with. Don't you just love polka dots?